

Master Hedge Trimming Techniques for a Lush Landscape
September 14, 2025
7 Backyard Privacy Options Every Homeowner Should Know
September 16, 2025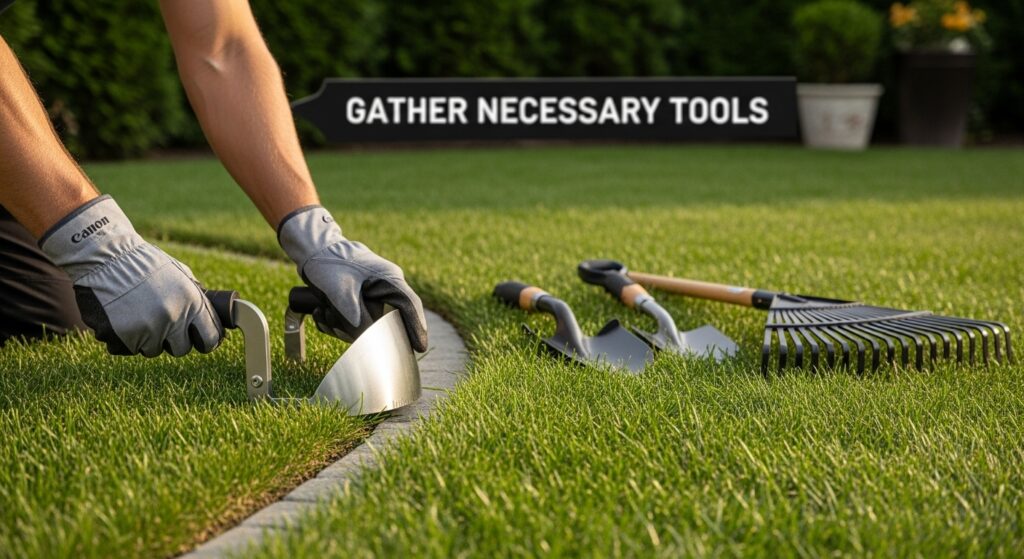
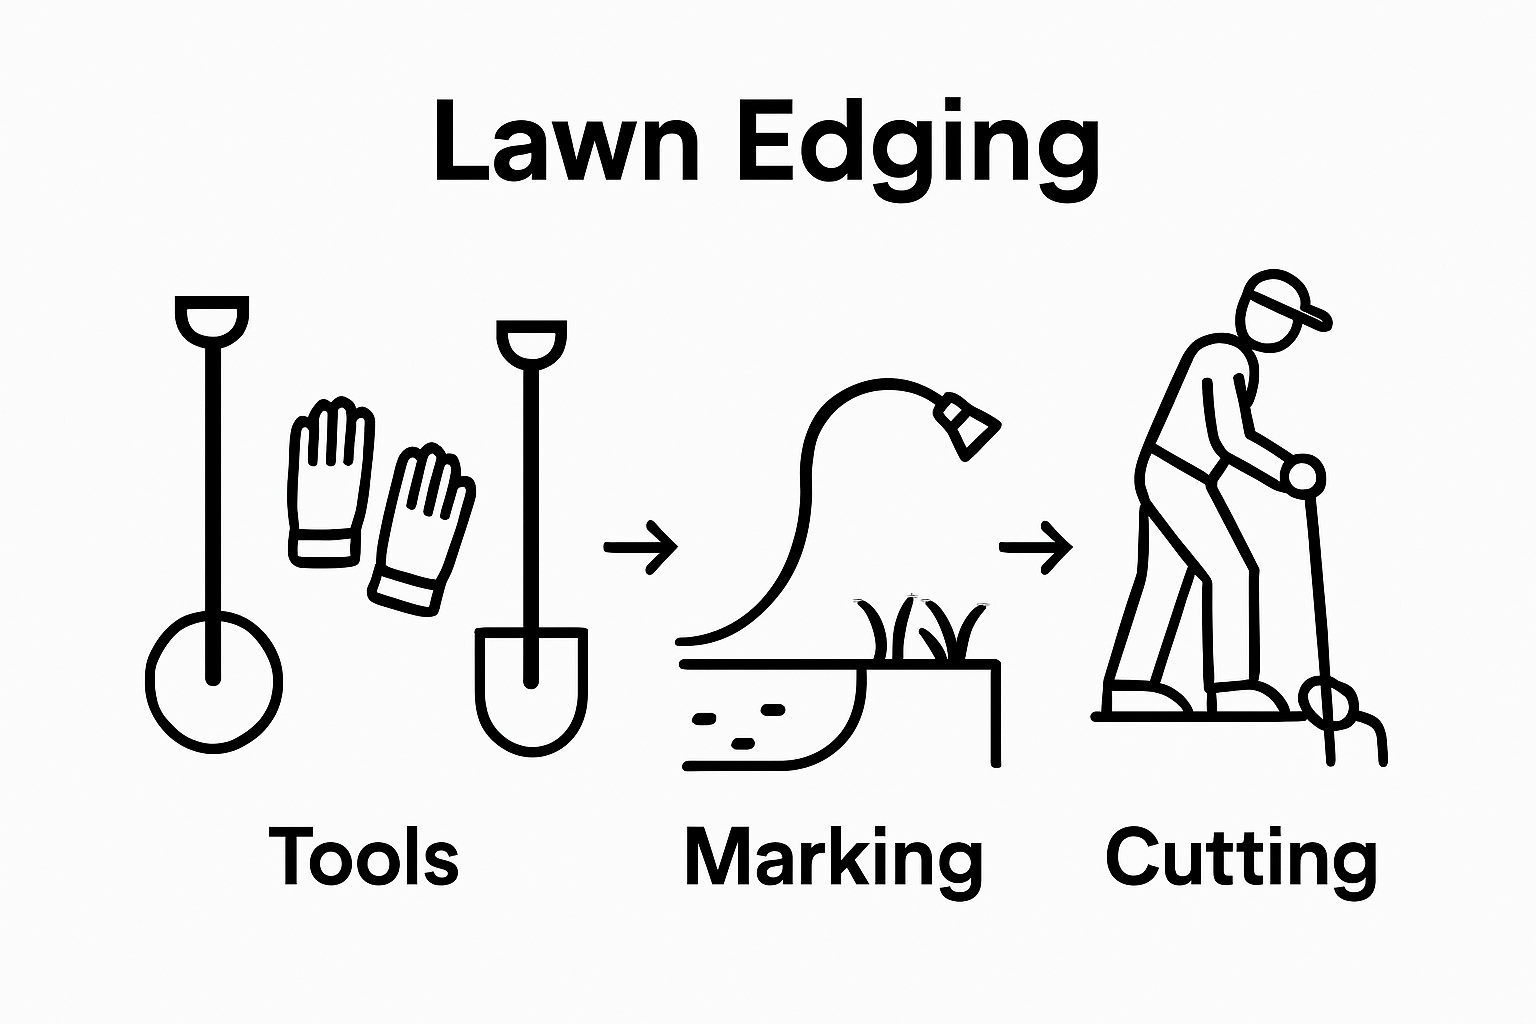
Lawn edging seems like a small detail but it can completely transform the clean look of your yard. Most people think grabbing any old shovel will do the job yet precision actually starts with your tools and prep. Skipping those first steps is the fastest way to ruin your crisp edge lines and according to experts, using a half-moon edger with a sharp blade is the secret behind that professional finish every time.
Table of Contents
- Step 1: Gather Necessary Tools And Materials
- Step 2: Define Edging Lines For Precision
- Step 3: Prepare The Edging Area By Clearing Debris
- Step 4: Execute The Edging Process Using The Chosen Method
- Step 5: Verify Edging Quality And Make Adjustments
Quick Summary
| Key Point | Explanation |
|---|---|
| 1. Gather essential tools for edging | Use a manual edging tool, safety glasses, gloves, and a rake for effective lawn edging. |
| 2. Clearly define edging lines | Mark edges using a garden hose or string for precision before starting to edge your lawn. |
| 3. Prepare the area thoroughly | Clear all debris and vegetation along the edging line to ensure a clean, uniform space for edging. |
| 4. Execute edging with proven techniques | Apply steady pressure and maintain tool alignment for consistent depth and clean edges during the edging process. |
| 5. Verify and adjust previously made edges | Inspect for depth and straightness, making subtle corrections as necessary for a polished finish. |
Step 1: Gather Necessary Tools and Materials
Successful lawn edging begins with selecting the right tools and preparing your workspace. Before starting this precise landscaping task, you will need to assemble a collection of professional-grade equipment that ensures clean, sharp edges and efficient work.
Essential Lawn Edging Tools
Professional landscapers recommend gathering specific tools to create crisp, well-defined lawn borders. Your primary equipment will include a manual edging tool or power edger, sturdy work gloves, protective safety glasses, a straight-edged spade or half-moon edger, and a garden rake. According to Virginia Tech’s Landscaping Publications, having the right tools significantly improves the precision and quality of lawn maintenance.
When selecting your edging tool, consider your lawn’s specific characteristics. Manual edgers work well for smaller spaces and provide greater control, while power edgers excel in larger areas with extensive borders. A quality half-moon edger with a sharp, sturdy blade will help you create clean, straight lines with minimal effort. Ensure your chosen tool has a comfortable handle and feels balanced in your hands.
Additional recommended equipment includes:
- Measuring tape or string line for creating straight edges
- Marking spray paint for outlining complex border designs
- Knee pads for comfortable ground-level work
- Wheelbarrow or garden cart for collecting grass clippings and debris
Before beginning your lawn edging project, inspect all tools for proper maintenance. Sharpen blades, check handle integrity, and ensure cutting edges are clean and rust-free. Properly maintained tools not only make your work easier but also provide more precise results and extend the life of your equipment.
Below is a table summarizing the essential tools and materials required for effective lawn edging, including their primary purpose for this landscaping task.
| Tool/Material | Purpose | Notes |
|---|---|---|
| Manual edging tool | Creates precise lawn edges | Best for control in small areas |
| Power edger | Speeds up edging process on larger lawns | Ideal for extensive borders |
| Half-moon edger/spade | Cuts clean, straight or curved edges | Must be sharp and well-maintained |
| Work gloves | Protects hands during manual work | Recommended for safety and comfort |
| Safety glasses | Shields eyes from debris | Essential for power tool use |
| Garden rake | Clears debris and smooths soil | Prepares area before and after edge |
| Measuring tape/string | Assists with marking straight lines | Ensures precision |
| Marking spray paint | Outlines complex border designs | Useful for visual guides |
| Knee pads | Provides comfort during ground-level work | Optional but helpful |
| Wheelbarrow/garden cart | Transports grass clippings and debris | Increases efficiency |
Remember that preparation is key to achieving professional-looking lawn edges. Take time to understand your specific lawn’s terrain, grass type, and existing landscape features. This preliminary assessment will help you choose the most appropriate tools and techniques for your unique outdoor space.
Step 2: Define Edging Lines for Precision
Creating precise lawn edges requires careful planning and strategic marking to transform your outdoor space into a professionally landscaped environment. This crucial step determines the visual boundaries between your lawn, garden beds, walkways, and other landscape features.
Begin by walking your property perimeter and visualizing the desired edge lines. Straight lines work best near geometric structures like driveways and sidewalks, while more organic, gently curved edges complement garden beds and natural landscape elements. According to Utah State University Extension, establishing clear boundary lines is fundamental to maintaining a well-manicured landscape.
To mark your proposed edging lines, use a combination of tools that ensure accuracy. A long garden hose provides flexibility for creating smooth curves, while marking spray paint helps define straight sections with precision. Lay the hose or string line along the intended edge, adjusting until the line looks visually balanced and matches your landscape design.
Professional landscapers recommend stepping back frequently to assess the overall aesthetic from multiple angles.
Key considerations when defining edge lines include:
- Maintaining consistent width along the entire border
- Avoiding sharp angles that complicate mowing
- Ensuring edges complement existing landscape features
- Considering drainage patterns and soil grade
Once you have a preliminary layout, use wooden stakes and string to create a more permanent guide. This technique allows you to fine-tune the line before committing to actual edging. Drive stakes at critical points and stretch a taut string between them, creating a visual reference that helps maintain straightness and consistent width.
Verify your edge lines by walking the proposed route, checking alignment from different perspectives. Look for symmetry, smooth transitions between curves, and how the lines interact with surrounding landscape elements. A well-defined edge should feel natural and intentional, seamlessly connecting different areas of your outdoor space.
Remember that patience during this planning stage prevents costly mistakes later. Take time to experiment with different line configurations until you achieve a layout that enhances your property’s overall aesthetic and functionality.
Step 3: Prepare the Edging Area by Clearing Debris
Preparing the edging area is a critical step that sets the foundation for a clean, professional-looking lawn border. This process involves thoroughly clearing the designated edge zone of all potential obstacles that could interfere with precise edging and create an uneven or messy result.
Begin by conducting a comprehensive inspection of the marked edging line. Remove all loose debris, including fallen leaves, twigs, small stones, and any accumulated organic matter. Use a sturdy garden rake to systematically clear the area, working methodically along the entire proposed edge. Pay special attention to areas near garden beds, sidewalks, and driveways where debris tends to accumulate.
Careful removal of vegetation is crucial for creating a crisp, clean edge. Carefully pull out any grass, weeds, or small plants growing along the proposed edge line. For stubborn roots or deeply established vegetation, a hand trowel or garden spade will help you extract them completely. Ensure you remove the entire root system to prevent regrowth and maintain a clean border.
Key areas to focus on during debris removal include:
- Corners and transitions between different landscape areas
- Spaces near hardscaping elements like rocks or concrete
- Areas with previous landscape fabric or hidden underground obstacles
- Zones with accumulated soil buildup or compacted debris
Once you have manually removed larger debris and vegetation, use a leaf blower or soft-bristled broom to clear away fine particles and dust. This final sweeping ensures a clean surface that will allow for precise edging. Take time to inspect the area closely, running your hand along the proposed edge to feel for any remaining small rocks or uneven surfaces that might impede your edging tool.
Professional landscapers recommend wearing work gloves during this process to protect your hands and improve grip when handling tools. If you encounter particularly challenging areas with dense vegetation or complex root systems, consider using a garden cultivator to loosen the soil and make debris removal easier.
Verify your preparation by stepping back and visually inspecting the cleared area. The edge zone should appear clean, uniform, and free of any obstacles that could interfere with your edging tool. A well-prepared surface not only makes the edging process smoother but also ensures a more professional and polished final result.
The following table offers an at-a-glance overview of all main lawn edging steps, including their primary objective and focus to streamline your landscaping process.
| Step | Main Action | Key Focus |
|---|---|---|
| Gather tools and materials | Assemble professional-grade equipment | Ensure tools are clean, sharp, and ready |
| Define edging lines | Mark straight or curved edges | Achieve visual precision and balanced layout |
| Prepare edging area | Clear debris, grass, and obstacles | Create a clean, uniform surface for crisp edges |
| Execute edging process | Edge lawn along marked lines with steady pressure | Maintain alignment, consistent depth, and tool control |
| Verify and adjust edges | Inspect border for consistency | Fine-tune for depth, straightness, and clean finish |
Step 4: Execute the Edging Process Using the Chosen Method
With your preparation complete, the moment has arrived to transform your lawn’s boundaries with precision and skill. The execution of edging requires careful technique, steady movement, and consistent pressure to achieve professional-looking results.
Manual edging tools demand a specific approach that combines strength and finesse. Position yourself at the beginning of your marked line, gripping the edging tool firmly with both hands. Apply consistent downward pressure, using your body weight to drive the blade straight and true. Work in small, controlled segments rather than attempting long continuous cuts. This method provides greater accuracy and helps prevent potential tool deviation or uneven edges.
For power edgers, understanding machine operation is crucial. According to Virginia Tech’s Extension publication, maintaining full blade speed and keeping the tool aligned with your predetermined line ensures clean, sharp edges. Wear protective eyewear and maintain a stable stance, allowing the machine to do most of the cutting work while you guide its path.
Important considerations during the edging process include:
- Maintaining a consistent depth of 2-3 inches
- Keeping the tool perpendicular to the ground
- Moving slowly and deliberately
- Checking alignment frequently
- Avoiding sudden movements that could create jagged lines
If using a manual half-moon edger or spade, create your cut by positioning the tool at a 90-degree angle to the ground. Push down firmly with your foot to drive the blade into the soil, then rock the tool back slightly to remove the cut section. Repeat this motion methodically along your entire marked line, ensuring each cut remains uniform and aligned with your original layout.
For curved areas, reduce your cutting speed and make smaller, more deliberate movements. Curved edges require extra attention to maintain a smooth, natural-looking line. Use your body weight and the tool’s design to guide the blade smoothly around bends without creating sharp or uneven transitions.
Verify your edging work by stepping back and examining the entire border. Look for consistent depth, straight lines, and clean separation between lawn and adjacent surfaces. A professional edge should appear crisp, with a clear demarcation that enhances your landscape’s overall aesthetic.
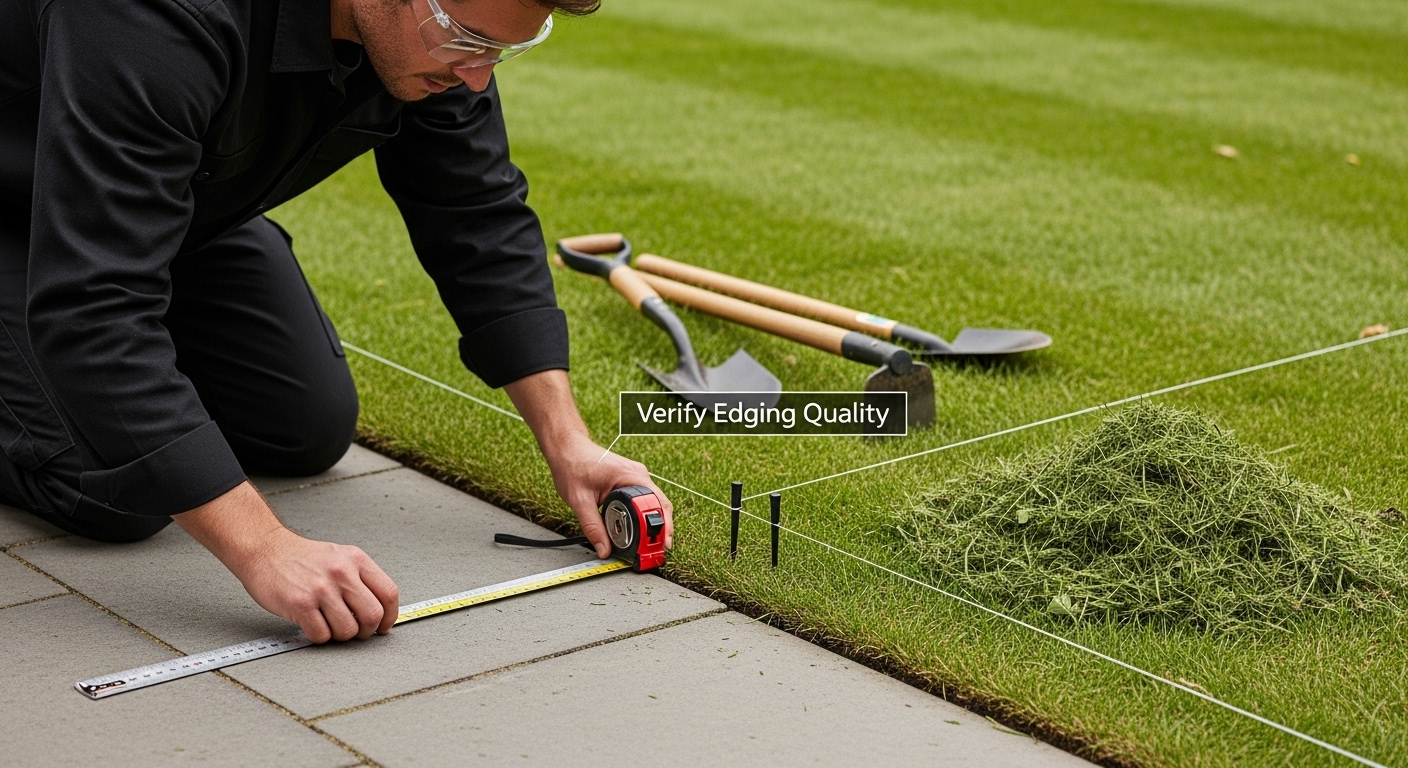
Step 5: Verify Edging Quality and Make Adjustments
The final stage of lawn edging involves a meticulous review process that transforms your initial work into a professional-looking landscape feature. This critical step ensures that your hard work results in crisp, clean, and visually appealing lawn borders.
Begin by conducting a comprehensive visual inspection of your entire edged area. Walk the entire length of the newly created border, examining the line from multiple angles and perspectives. Look for consistency in depth, straightness, and overall alignment. Professional landscapers recommend viewing the edge from both ground level and a slight distance to capture any subtle imperfections that might not be immediately apparent.
Carefully check the technical aspects of your edging work. Measure the depth and width of your edge to ensure uniformity throughout the landscape. A consistent edge typically ranges between 2-3 inches deep and maintains a clean, sharp separation between different landscape zones. Use a measuring tape or ruler to verify that your edging meets these professional standards, making gentle adjustments where necessary.
Key elements to scrutinize during your quality verification include:
- Depth consistency across the entire edged area
- Straightness of linear sections
- Smoothness of curved edges
- Clean separation between lawn and adjacent surfaces
- Absence of jagged or uneven cuts
If you discover minor imperfections, use your original edging tool to make precise corrections. For slight irregularities, a hand spade or half-moon edger can help you fine-tune specific sections. Work carefully and incrementally, removing small amounts of soil to achieve the desired line. Remember that perfection comes from patient, deliberate adjustments rather than aggressive corrections.
Pay special attention to transition areas, such as corners, curves, and intersections with hardscaping elements like driveways or walkways. These areas often require extra care to maintain a professional appearance. Use your edging tool to smooth out any abrupt changes and create seamless connections between different landscape zones.
Once you are satisfied with the visual and technical aspects of your edging, perform a final cleanup. Remove excess soil and grass clippings using a garden rake or leaf blower, ensuring a clean, crisp finish. Step back and admire your work, taking pride in the transformed landscape that now features precise, professionally executed lawn edges.
Achieve Perfect Lawn Edges Without the Hassle
You have read about how careful tool selection, line definition, debris removal, and meticulous edging techniques all help create that sharp curb appeal. But if you feel overwhelmed by manual edging or struggle to maintain crisp lines season after season, Ace Landscapes has the expertise you need. Tired of spending weekends on your hands and knees only to end up with uneven borders and frustrating results? Let a trusted Calgary landscaping team handle the hard work and bring out the clean, professional finish you have always wanted.

Picture your property with flawless edges, vibrant beds, and an outdoor space that truly impresses. Discover how our property maintenance specialists can save you time, increase your property’s value, and ensure every detail is completed with care. Act now to book your spring or summer service with Ace Landscapes. Visit our website at https://acelandscapes.ca to request a quote or explore our full portfolio of landscape services. Your neat, clean landscape is just a click away.
Frequently Asked Questions
What tools do I need for lawn edging?
You will need a manual edging tool or power edger, sturdy work gloves, safety glasses, a straight-edged spade or half-moon edger, and a garden rake. Additional tools can include measuring tape, marking spray paint, knee pads, and a wheelbarrow or garden cart for collecting debris.
How can I create straight and curved lawn edges?
To create straight edges, use a string line or a long garden hose to mark the desired boundary. For curves, the garden hose allows for flexibility. Ensure to step back frequently to assess the visual balance of your edge lines.
What is the best method for executing the edging process?
For manual edging, push the tool down with consistent pressure while keeping it perpendicular to the ground. For power edgers, maintain full blade speed and guide the tool along your marked line. Take your time to ensure clean cuts and precise edges.
How can I verify the quality of my lawn edging?
Perform a visual inspection of the edged area by looking for consistency in depth and straightness. Use a measuring tape to check for uniformity and make adjustments as necessary to smooth out any imperfections.
