Master Growing Vegetables in Calgary: A Complete Guide
September 13, 2025How to Edge a Lawn for a Neat and Clean Landscape
September 15, 2025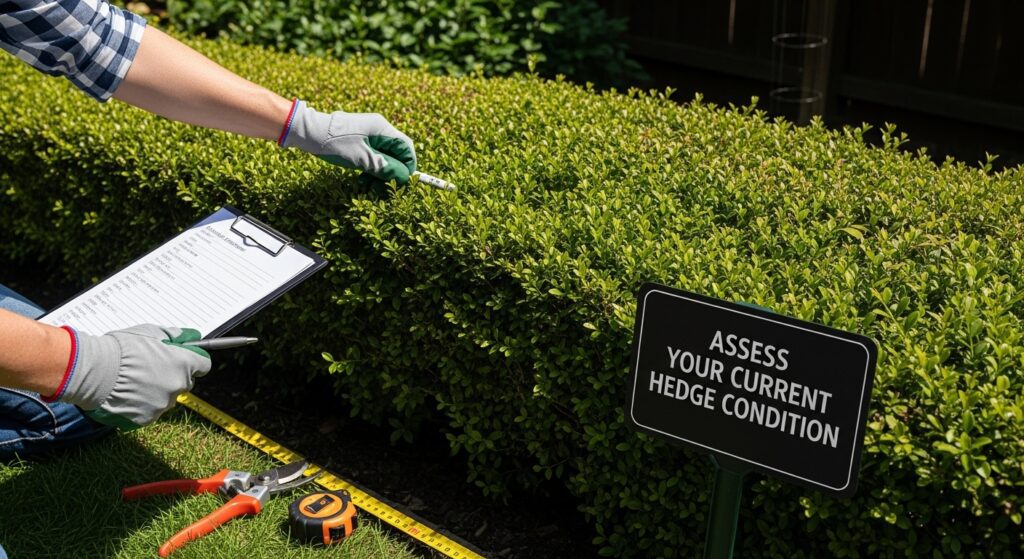
Most people think hedge trimming is all about having sharp shears and a free afternoon. The funny part is, those are actually the easy bits that barely scratch the surface. The real secret? Trim off more than one-third of your hedge’s foliage at once and you could set your plant back for years. That single fact changes the whole approach.
Table of Contents
- Step 1: Assess Your Current Hedge Condition
- Step 2: Gather Necessary Tools and Materials
- Step 3: Plan Your Trimming Technique
- Step 4: Execute Hedge Trimming With Precision
- Step 5: Clean Up and Check Your Work
Quick Summary
| Key Point | Explanation |
|---|---|
| 1. Assess hedge health carefully | Conduct a thorough visual inspection to identify growth issues or diseases before trimming. |
| 2. Use quality cutting tools | Professional-grade and well-maintained tools are essential for successful and precise trimming. |
| 3. Plan trimming technique strategically | Create a plan that aligns with the hedge’s natural growth to achieve an aesthetically pleasing shape. |
| 4. Maintain a consistent cutting angle | Use guide lines while trimming to ensure even and straight cuts throughout the hedge. |
| 5. Clean up thoroughly post-trimming | Remove all debris and disinfect your tools to protect plant health and prepare for future work. |
Step 1: Assess Your Current Hedge Condition
Successful hedge trimming begins with a comprehensive and careful assessment of your current hedge condition. This critical first step determines the entire approach you will take to pruning and shaping your landscaping greenery. Professional landscapers understand that each hedge has unique characteristics requiring individualized attention.
Start by conducting a thorough visual inspection during optimal daylight conditions. Walk around the entire hedge perimeter, examining the plant from multiple angles. Look for key indicators of hedge health such as branch density, overall shape, potential disease signs, and structural integrity. Pay special attention to areas with uneven growth, dead branches, or sections showing signs of stress.
Research from Clemson University recommends carefully examining your hedge for specific warning signs that might impact your trimming strategy. These include:
- Crossing or rubbing branches that could cause damage
- Branches with discoloration or unusual bark texture
- Evidence of insect infestation or fungal growth
- Sections with sparse foliage or significant dieback
Measure the current hedge height and width before beginning any trimming process. Understanding your hedge’s existing dimensions helps you establish realistic goals for reshaping and maintaining its appearance. Consider factors like plant species, natural growth patterns, and desired aesthetic outcome.
Equip yourself with appropriate tools for a comprehensive assessment. Recommended tools include:
- Sharp hand pruners
- Measuring tape
- Gardening gloves
- Clean white cloth for examining potential disease symptoms
Carefully document your observations by taking photographs or making written notes. These records will serve as valuable references during the actual trimming process and help track your hedge’s health over time. Remember that each hedge is unique, and a personalized approach ensures the best possible outcome for your landscaping project.
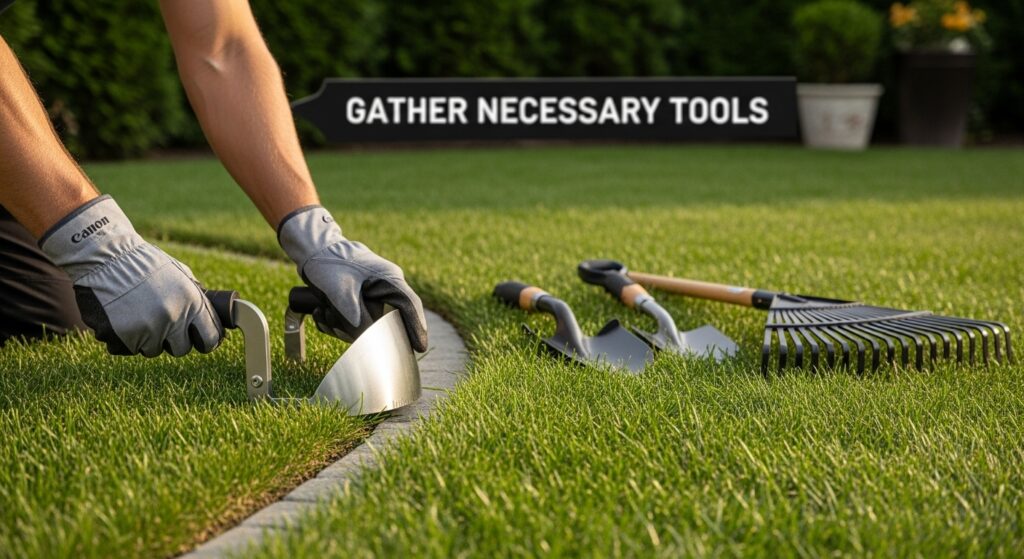
Step 2: Gather Necessary Tools and Materials
Preparing the right tools and materials is a crucial step in achieving professional hedge trimming results. This stage sets the foundation for a smooth and efficient landscaping process, ensuring you have everything needed to transform your hedges with precision and care.
Research from Clemson University emphasizes the importance of selecting appropriate tools and maintaining them properly. Professional landscapers understand that quality equipment not only makes the job easier but also protects the health of your plants.
Start by selecting high-quality hedge trimming tools that match the specific type and size of your hedges. For most residential hedge trimming projects, you will need a combination of professional-grade cutting tools. Sharp, clean tools are essential for making precise cuts that promote healthy plant growth and prevent potential damage.
Your core toolkit should include:
- Manual hedge shears for precise trimming of smaller branches
- Electric or battery-powered hedge trimmers for larger hedges
- Hand pruners for detailed work and removing thicker branches
- Loppers for branches too thick for hand pruners
- Pruning saw for removing substantial branches
Beyond cutting tools, prepare additional materials to support your hedge trimming project. Safety equipment is non-negotiable and should include sturdy gardening gloves, safety glasses, and comfortable clothing that allows free movement. Consider wearing long sleeves and pants to protect yourself from scratches and potential skin irritation from plant sap.
Maintenance tools are equally important. Bring a tool cleaning kit consisting of rubbing alcohol, clean rags, and light machine oil. Disinfecting your tools between cuts prevents potential disease transmission between plants and ensures your equipment remains in top condition.
Consider the environment and prepare a cleanup station with large garden bags or a wheelbarrow for collecting trimmed branches. Having a designated area for debris management keeps your workspace organized and makes post-trimming cleanup more efficient.
Before beginning your project, take a few moments to inspect and prepare each tool. Sharpen blades, check for any damage, and ensure battery-powered trimmers are fully charged. A well-prepared toolkit not only makes the job smoother but also reflects a professional approach to landscape maintenance.
Here is a concise table summarizing essential hedge trimming tools and materials, their purposes, and important care tips for effective use and maintenance.
| Tool/Material | Purpose | Care/Maintenance Tip |
|---|---|---|
| Manual hedge shears | Precise trimming of smaller branches | Sharpen blades before each use |
| Electric/Battery trimmer | Efficient cutting of larger hedges | Ensure battery is fully charged |
| Hand pruners | Detail work and removing thick branches | Clean blades to prevent disease |
| Loppers | Cutting branches too thick for pruners | Check for any joint looseness |
| Pruning saw | Removing substantial branches | Remove sap buildup after use |
| Gardening gloves | Protect hands from cuts and sap | Inspect for holes or wear |
| Safety glasses | Shield eyes from flying debris | Wipe lenses clean before use |
| Tool cleaning kit | Disinfect tools and prevent rust | Store in a dry location |
| Large garden bags/wheelbarrow | Collect and transport trimmed debris | Empty after each session |
Step 3: Plan Your Trimming Technique
Developing a strategic trimming technique is fundamental to achieving a professional and aesthetically pleasing hedge. This step transforms your hedge maintenance from a random activity to a precision landscaping approach that promotes plant health and visual appeal.
Research from the Royal Horticultural Society highlights the importance of understanding your specific hedge characteristics before beginning any trimming process. Each hedge species requires a nuanced approach that considers its natural growth pattern, seasonal requirements, and desired shape.
Begin by determining the ideal hedge shape that complements your landscape design. Most residential hedges benefit from a slight taper, where the base is slightly wider than the top. This design allows sunlight to reach lower branches, promoting uniform growth and preventing bare patches. Professional landscapers recommend creating a slight wedge-like profile that ensures maximum light penetration and maintains plant vitality.
Consider the natural growth direction and branching pattern of your specific hedge species. Some plants grow more densely, while others have more open structures. Your trimming technique must work with these inherent characteristics rather than against them. Take time to observe how your hedge naturally grows and plan your cuts to enhance its existing structure.
Take these key considerations into account when planning your trimming strategy:
- Identify the hedge’s primary growth direction
- Determine the desired final height and width
- Consider seasonal growth patterns
- Plan cuts that promote dense, healthy foliage
Measurement is critical in achieving a professional finish. Use stakes and string to create guide lines that ensure straight, even cuts across the entire hedge length.
This technique helps maintain consistent angles and prevents unintentional over-trimming. For more complex hedge shapes, create a cardboard template that can be held against the hedge to guide your cutting technique.
Plan your trimming frequency based on the hedge species and its growth rate. Some fast-growing hedges might require trimming multiple times per season, while slower-growing varieties need less frequent maintenance. Always trim hedges during their appropriate seasonal window, typically in late spring or early summer when growth is most vigorous.
Verify your planning by stepping back periodically during trimming and assessing the overall shape from multiple angles. A well-planned trimming technique results in a hedge that looks uniform, healthy, and beautifully integrated into your landscape design.
Remember that patience and careful observation are key to mastering hedge trimming techniques.
Step 4: Execute Hedge Trimming with Precision
Executing hedge trimming with precision transforms an ordinary landscaping task into an art form that requires skill, patience, and attention to detail. This critical step determines the ultimate health and appearance of your hedge, turning your careful planning into a beautiful, professional result.
Research from the University of Minnesota Extension emphasizes the importance of strategic cutting techniques that promote plant health and maintain desired shape. Professional landscapers understand that precision is about more than just creating straight lines.
Begin by setting up your guide lines using stakes and string to ensure a consistent cutting angle. Position yourself comfortably and maintain a steady hand throughout the trimming process. Start at the bottom of the hedge and work your way upward, using smooth, controlled movements with your trimming tool. Electric hedge trimmers work best when held at a slight angle, allowing gravity and the tool’s weight to assist in creating clean, even cuts.
The fundamental rule of hedge trimming is to remove no more than one-third of the plant’s total foliage in a single session. This approach prevents plant stress and ensures continued healthy growth. When using hand shears or electric trimmers, focus on making precise, clean cuts that follow the hedge’s natural shape. Avoid jagged or uneven cuts that can damage plant tissue and compromise the hedge’s overall health.
Key techniques to master include:
- Maintaining a consistent cutting angle
- Using overlapping strokes for uniform coverage
- Checking your progress from multiple angles
- Cleaning tools between different sections to prevent disease spread
Pay special attention to the hedge’s base, ensuring it remains slightly wider than the top. This batter technique allows sunlight to reach lower branches, preventing bare patches and promoting full, healthy growth. Move slowly and deliberately, stepping back frequently to assess your progress and make necessary adjustments.
As you trim, watch for potential challenges such as dense growth areas or branches that are crossing or rubbing against each other. These sections may require additional careful attention or selective pruning to maintain the hedge’s overall health and appearance.
Verify your work by stepping back and examining the hedge from multiple perspectives. A well-trimmed hedge should have clean, crisp lines that follow its natural shape while maintaining a uniform appearance.
Run your hand gently along the surface to check for any uneven areas that might need additional attention. Remember that precision in hedge trimming is a skill that improves with practice, so be patient with yourself and focus on consistent, careful technique.
Step 5: Clean Up and Check Your Work
The final stage of hedge trimming is just as crucial as the initial preparation and cutting process. Clean up and final inspection ensure your landscaping project meets professional standards and maintains the long-term health of your hedges.
Research from Virginia Tech’s Extension emphasizes the importance of thorough area inspection and cleanup after any landscaping work. Professional landscapers understand that meticulous final steps prevent potential issues and protect your investment.
Begin by carefully removing all trimmed branches and debris from around the hedge. Use a rake or leaf blower to collect smaller clippings, ensuring you clear the area completely. Pay special attention to the base of the hedge, where fallen branches can potentially block sunlight or create moisture-trapping environments that might harm plant health.
Inspect your tools before storing them. Clean hedge trimmers and pruning equipment thoroughly, removing any sap or plant material. Wipe down blades with rubbing alcohol to disinfect and prevent potential disease transmission between plants. Apply a light machine oil to metal surfaces to prevent rust and maintain tool effectiveness for future use.
Key cleanup and verification steps include:
- Removing all trimmed branches and clippings
- Checking for any uneven areas in the hedge
- Cleaning and disinfecting all tools
- Ensuring the surrounding area is clear of debris
Carefully examine the hedge from multiple angles to verify your trimming results. Look for consistent shape, even cutting lines, and balanced appearance. Step back and view the hedge from different distances and perspectives. This comprehensive review helps identify any areas that might need additional touch-up work or minor adjustments.
Take a moment to assess the hedge’s overall health. Look for signs of stress, such as browning leaves or uneven growth patterns. If you notice any concerning areas, document them for potential future maintenance or consultation with a professional landscaper. Proper documentation can help track your hedge’s health over time and inform future trimming strategies.
Finally, consider applying a light layer of mulch around the hedge’s base to retain moisture and protect the root system. This additional step provides extra care and supports the hedge’s recovery after trimming. Clean and organize your workspace, storing tools properly and ensuring all equipment is ready for future use.
A successful hedge trimming project concludes with a well-maintained landscape that reflects careful attention to detail and professional-level care.
This overview table recaps each key step in the hedge trimming process, highlighting main actions and expected results to help you track progress and ensure nothing is missed.
| Step | Main Action | Key Outcome |
|---|---|---|
| Assess Hedge Condition | Inspect for health, shape, and structural issues | Informed approach for safe trimming |
| Gather Tools & Materials | Collect and prepare all necessary equipment | Efficient, safe, and clean workflow |
| Plan Trimming Technique | Strategize shape, cutting angle, and frequencies | Consistent, healthy, attractive hedge |
| Execute Trimming | Trim using proper angle and clean cuts | Even shape, minimal plant stress |
| Clean Up & Check Work | Tidy area, disinfect tools, inspect results | Healthy, maintained landscape |
Feeling Overwhelmed by Hedge Trimming Challenges? Let Ace Landscapes Help
You have learned how crucial a careful hedge assessment, precise tool selection, and strategic trimming are to a healthy landscape, but tackling dense, overgrown, or uneven hedges on your own can be stressful. If you find yourself worrying about disease prevention, uneven cuts, or simply maintaining a lush, professional look for your property, you are not alone. Many Calgary homeowners and businesses feel the same pressure when faced with the demands of expert hedge care.
Stop letting uncertainty or lack of time hold you back from perfect results. The expert team at Ace Landscapes can turn the master techniques from this article into beautiful, lasting results for your yard. We offer full-service landscape design and maintenance for hedges, trees, and all outdoor spaces. Reach out now to schedule a consultation or request a quote and give your landscape the professional edge it deserves. Enjoy peace of mind and exceptional curb appeal, starting today.
Frequently Asked Questions
How do I assess the health of my hedge before trimming?
Conduct a thorough visual inspection during daylight, examining branch density, shape, and signs of disease or stress. Look for crossing branches, discoloration, insect infestation, and uneven growth.
What tools should I use for hedge trimming?
Essential tools for hedge trimming include manual hedge shears, electric hedge trimmers, hand pruners, loppers, and pruning saws. Quality tools ensure clean cuts and promote healthy growth.
What trimming technique should I follow for a professional look?
Aim for a slight taper, with the base wider than the top, to allow sunlight to penetrate. Use guide lines and take care to make precise cuts that follow the hedge’s natural shape.
How often should I trim my hedges?
Trimming frequency depends on the species and growth rate of your hedge. Fast-growing varieties may require trimming multiple times a season, while slower ones need less frequent maintenance.
